Build a Square Foot Garden This Year!


Disclosure: *This post may include affiliate links. As an affiliate, I earn from qualifying purchases. |
| Last Year’s Square Foot Garden |
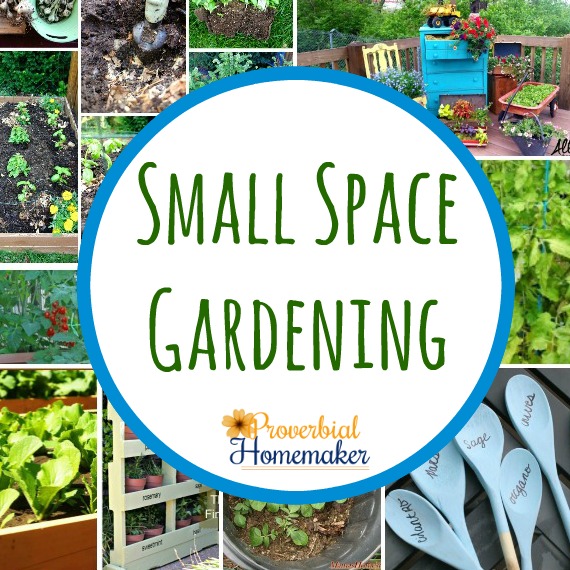
A few years ago I asked to pick the brain of my husband’s co-worker, who is good at gardening. Because I am not. She pointed me to square foot gardening. I soon set one up in our yard just outside the back door. It is so easy and so fun! Today I’m going to share with you how to build one for yourself.
{{{This is a lot of information, and most of it is from the book All New Square Foot Gardening by Mel Bartholomew, but it is by no means exhaustive. I highly recommend buying it or at least checking it out from the library! I wish I’d taken more pictures of the building process, but I didn’t. So I’m relying on Pinterest! Click on the pictures to find the sources. Thanks! }}}
- Build 4×4 raised beds
-
- every plant easy to access
- no stepping on soil
- close to house
- with experience, add more beds to meet needs
- Square foot grid and efficient spacing (no thinning)
-
- no wasted seeds
- no wasted garden space
- a large amount of food in a very small space
- easier to stagger crops
- New soil (not garden soil)
-
- minimal weeds
- little or no need for fertilizing
- high quality, aerated soil makes plants happy

1. Build It: Frame, Grid, and Vertical Support
- 4 pieces of lumber, 1” x 6” long
- Wood screws
- Weed cloth
- 6 pieces of 1” wide wood or vinyl, 4” long
Vertical Support:
- Two 5-foot electrical conduit pipes, 1/2” diameter
- One 4-foot conduit pipe, 1/2” diameter
- Two 18-inch rebar supports, 1/2” diameter
- Two elbow connectors
- Trellis netting
2. Fill It
The book recommends using Mel’s Mix (measured by volume): 1/3 blended compost, 1/3 peat moss, 1/3 coarse vermiculite. No need for tilling or fertilizing later.
3. Plan It
Make a list of the produce you eat, starting with the ones you eat most often. Here’s mine.
What we eat the most:
broccoli
kale
parsley
spinach
asparagus
lettuce
bell pepper
cucumber
carrots
celery
Other things I’d like to grow
tomatoes
leeks
swiss chard
onions
snap peas
winter squash
watermelon
pumpkins
green beans
Print out this handy planning grid and write out what you want to plant in each square. Then indicate where you think you’ll swap in other crops based on the planting schedule in the book. Here’s my planning grid for this year.
|
Spinach (Cucumber)
|
Lettuce (Cucumber)
|
Spinach (butternut squash)
|
Snap peas (bush beans)
|
|
Lettuce (Red bell pepper)
|
swiss chard (lettuce)
|
Lettuce (swiss chard)
|
Swiss chard (Red bell pepper)
|
|
Kale
|
Parsley
|
Kale
|
Parsley
|
|
Spinach (carrots)
|
Carrots (spinach)
|
Spinach (carrots)
|
Carrots (spinach)
|
- Cover with dark plastic
- Water with warm water, turn, water again, then cover with plastic.
- Use PVC hoop houses to protect early or late plants from excessive rain and cold
- Sow seeds indoors a few weeks before transplanting.
4. Plant It
- Figure out how many plants can go in each square (based on thinned spacing)
- Draw boxes in the square with your fingers
- Use your finger or a pencil eraser to make a planting hole (depth according to seed package) in each box
- Fill in holes and pat down soil
- Water
- Plant something new when a square is harvested. Consult your planting schedule (from the book, or link below).
- Before planting new seeds in a square, use a trowel to work in some compost
- Use natural pest repellents like vinegar water, water with a bit of dish soap in it, or just the pick-and toss method. If it causes you big problems, build a protective structure for next year.
- Water at the base of the plants instead of all over the leaves to avoid problems like fungal disease
- Printable square foot planning grids
- Planting schedule (from the book)
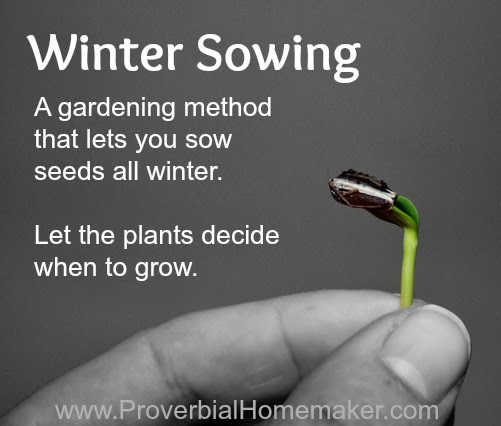
- Winter vegetable gardening (going to try it this year!)
- Good gardening sites:
- Organic Gardening
- National Gardening Association
- Fun online gardening planner at Gardener’s Supply Company
- Tim’s Square Foot Garden
- Seeds and Plants:
- Your local nursery – find yours! I always prefer shopping at the one near us.
- The Cook’s Garden
- Burpee
- Territorial Seed Company (based in Oregon)
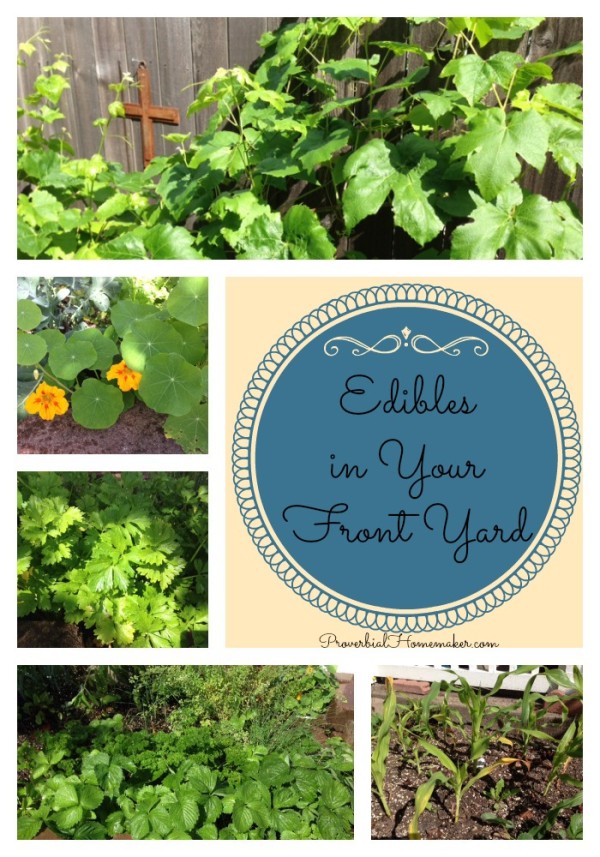
- Other types of gardens to consider:
- Perennial flower garden
- Flower cutting garden
- Strawberries
- Blackberries
- Grapes
- Fruit trees
- Dwarf
- Espaliered
- Culinary herb gardens
- Medicinal herb gardens
Do you have any great gardening resources to share? Please do! Have you tried square foot gardening? What has been your experience?

You Might Also Like:
THANK YOU!!!!!!!!! OH thank you, thank you, thank you for posting this!!! This makes it all sound so easy. Totally doing this…I’m going to do the concrete block thing. So awesome…thank you!!!
Sarah
You’re so welcome! Glad you found it useful. 🙂
Hi Tauna,
What a good idea! I’d love to do this but we don’t have the right sun exposure for a vegie garden. We’ve lived here for 45 years and have tried to grow every vegetable we eat …..to no success,unfortunately. EXCEPT for choko (chayote).
God Bless
Barb from Australia