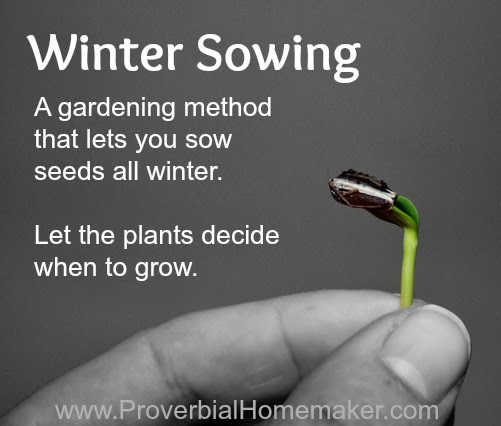
Starting Seeds Outdoors – Winter Sowing


Disclosure: *This post may include affiliate links. As an affiliate, I earn from qualifying purchases. |
| Source |
****UPDATE: Here is a new post with updated information and my experiences from last year. ****
I recently heard about a way of starting seeds outdoors for the spring garden.
Outside!
Without the space and grow lights necessary to start seeds inside!
!!!
What is this magical method? Winter sowing. It’s pretty simple and popular, although the people at the nursery had no idea what I was talking about when I asked them. However, if you look it up you will see that many gardeners of varying levels of experience have had great success with Winter sowing!
You can start sowing seeds in January by making mini greenhouses out of common containers such as milk jugs. You just sow your seeds, label them, and stick them outside until it’s time to plant them in the ground! Another nice thing is that you can start early and just sow seeds as containers come available.
1. Choose Your Seeds
You can use this method to jump start any seeds. But the earlier you start, the more cold-tolerant the seeds will need to be. I started with broccoli, kales, spinach, lettuces, arugula, and parsley, among others.
2. Collect Your Containers
You can use a variety of containers to sow your seeds. Gather things you’d normally toss in the recycle bin. You must be able to poke holes in the bottom for drainage and the top for air flow, and there must be a large clear window on top for sunlight.
Plastic salad bins, 2-liter pop bottles, milk jugs, take-out containers, yogurt containers with plastic wrap rubber banded on, etc. I used a few different types of containers and poked holes with a drill.
 |
| More than just a milk jug |
 |
| Cut around, leaving hinge |
 |
| Poke holes in bottom. Not sure if this will be enough for adequate drainage. |
 |
| Some say seed starting mix doesn’t drain well enough. They prefer potting soil. We’ll see how it goes. |
 |
| Tape closed and leave the lid off. I should have used the leopard print duct tape though… |
One clever idea is to cut toilet paper rolls in half and nestle them into a large salad bin. Then the seedlings can be pulled out more easily at planting time. Gonna have to try this.
3. Sow the Seeds
You can use a seed starting mix or a standard potting soil. Fill up to one half to one inch of the top of your container (or the cut line for bottles and jugs). Place the containers in the sink and soak the soil with water, letting them drain before moving. Once the water has drained, sow the seeds about 1 inch apart in the container, to the depth indicated on the seed packet.

4. Put Outside
Pat the seeds down, close the container (use duct tape if needed), and set outside. Make sure you label your containers!
An ideal location is one that gets direct sunlight for the first half of the day. You may have to move containers into a bit of shade on abnormally warm sunny days. It even happens in Portland every once in a while. 🙂
5. Care for Seedlings
When the seedlings emerge, check to make sure the soil is damp enough. If not, water them. The soil should feel as damp as a wet sponge.
Once the seedlings get a few real leaves, they can be transplanted if it’s warm enough. If it’s not, let them continue growing (you can leave the lid off later in the season) until you’re ready to transplant.
This year, we have a lot of garden to fill! In addition to our backyard square foot garden and some other containers and plots here and there, we put up a retaining wall in the front and made the yard into a raised garden bed.
I am hoping that the addition of winter sowing and our new mini greenhouse will help us fill up the gardens with great herbs and vegetables this year!
What do you think? Could Winter sowing be helpful for you?

If you would like to have Proverbial Homemaker delivered to your inbox, click here: Subscribe to Proverbial Homemaker. Or join us on Facebook, Twitter, & Pinterest.
Linking up with:
Monday – Raising Arrows, The Better Mom
Tuesday – Time-Warp Wife, Hip Homeschool Hop
Wednesday – Raising Homemakers, Women Living Well
Thursday – Serving Joyfully, Leaving a Legacy, Giveaway Day with Hip Homeschool Moms
Friday – Womanhood With Purpose, Hope in Every Season
Other – Look What We Did


This is a really interesting idea! Does it have to be or stay above a certain temp to start the seeds outside? (like, either in the 20’s or above freezing?)Thanks for sharing!
As far as I can tell from what people are doing, they start in Jan/early Feb (or later because, like me, they just found out about it!) and just leave it out come rain, shine, or snow! No low temps seem to hinder it. The success rate seems to be about 80% for starts, which I think is really high.
Wow, I’ll have to give this a try! I heard about this method, and it makes TOTAL sense. I mean, that’s how God designed the seed, right?
Is it important to start them out earlier, or is it fine to do this whenever? Basically, the seed will grow when the right conditions happen?
Thank you!
As far as I know, cold weather crops can be started Jan/Feb/early March and then you can start warm weather crops with the same method.
This is such great information—thank you!
My husband has a job interview Monday near Salem…maybe we’ll be moving closer to you guys soon!
Hope you’re having a great week so far!
Sarah